First, let’s run through the Replication components before we setup Peer-to-Peer replication.
- Article – the object we want to replicate
- Publication – Group of articles
- Publisher – Server that contains publication
- Subscriber – Receives publication
- Distributor – Controls agent and tracks subscribers
- Agent – Tasks to move data
What is Peer-to-Peer Replication?
In Peer-to-Peer, what it does is that it takes the one-way street where everything that happens in the publisher gets pushed off to the subscriber and turns it into a two-way street (bi-directional replication). Everything that happens in the subscriber can also be pushed to the publisher. In Peer-to -Peer, we only have conflict detection not conflict resolution. The key with peer to peer is to avoid conflict entirely.
Steps To Setup Peer-to-Peer Replication:
1. Create distribution on all instances that are participating in Peer-to-Peer.
You must configure a distributor for each node that will be participating in peer-to-peer else you will encounter the error below.

To set up distributor, follow the steps below.
right-click on Replication > Configure Distribution…

Click Next.

Choose the first option. Click Next.

Specify a snapshot folder path. Click Next.

Click Next.

Click Next.

Click Next.

Click Finish.

Click Close.

Note: Do the same for all the instances that will be participating in Peer-to-Peer Replication
2. Backup the databases to replicate then restore it in the subscriber node (data needs to be synchronized first before we configure peer-to-peer)
3. Create publication.
Right-click on Local Publication > New Publication…

Click Next.

Choose the database where the articles to be published are located. Click Next.

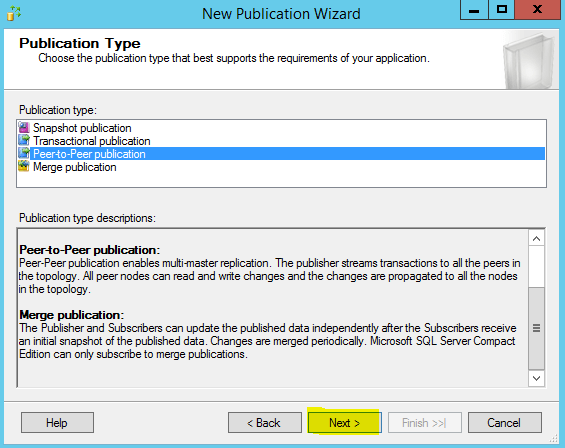
Choose Peer-to-Peer Publication. Click Next.
Choose the object/s to publish. Click Next.

Click Next.

It is a best practice to specify the account that you will use to run the Log Reader Agent process. However, for the purpose of this Demo, I will just use the SQL Server Agent service account. Click OK.

Click Next.

Optionally, you can generate a script file with steps to create the publication. I will not choose to in this demo.
Click Next.

Give your publication a name then click Finish.

Click Close.

4. Configure Peer-to-Peer topology.
Right-click on your publication > Configure Peer-to-Peer Topology.

Choose the newly created publication. Click Next.

Hover your cursor on the first node. Take note of the Peer originator id. As you can see, it is 100.

Now, on the topology Wizard, right-click on the design surface> Add a New Peer Node.

Connect to subscriber node.

Select the database on your subscriber. This is the database that we restored from your publisher. If you recall, at the beginning of this tutorial, that we backed up the database that we want to replicate and restored it in the subscriber node.

The Peer Originator ID of the first node is 100 remember? This is now the 2nd node and we will set the Peer Originator ID to 101. If we want add more nodes to the topology, then just set the Peer Originator ID of the next node to 102, the next node to 103, etc. You get the idea.
Tick Connect to ALL displayed nodes and choose Use Push subscription (optionally you can choose Pull subscription)
Click OK.

Now we can see the 2nd node that we just added visually on the design surface.
Click Next.

Click the ellipsis…

It is a best practice to specify an account that you will use to run the Log Reader Agent process. However, for the purpose of this Demo, I will just use the SQL Server Agent service account. Click OK.

Click Next.

Click the ellipsis…

It is a best practice to specify an account that you will use to run the Distribution Agent process. However, for the purpose of this Demo, I will just use the SQL Server Agent service account. Click OK.

Tick the “Use the first peer’s security settings for all other peers”. This is useful especially if you have many peers configured.
Click Next.

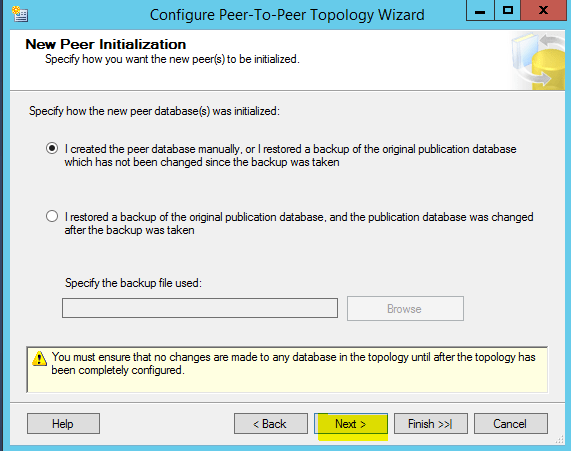
In the next page of the wizard, we have to specify how we want the new peer(s) to be initialized. Choose the first option if you know that there are no changes made since the last the backup was taken. However, if there were data modification after the backup was taken, choose the second option.
Click Next.
Review the choices that you have made, then click Finish.

Click Close.

In this blog post, we have learned how to setup Peer-to-Peer Replication. Everything that happens in the subscriber will also be published to the publisher. Just take note that in Peer-to-Peer, we only have conflict detection not conflict resolution. We have to avoid conflict entirely.


