


1. Download the latest patch for MySQL in My Oracle Support. I choose MySQL installer for the integrated installer for windows.
1.1. Go to Patches & Updates. Chooose Product or Family (Advanced). Type MySQL Server on Products. Expand the options in the Release drop down and choose your desired release. Choose Microsoft Windows x64 in Platform option.

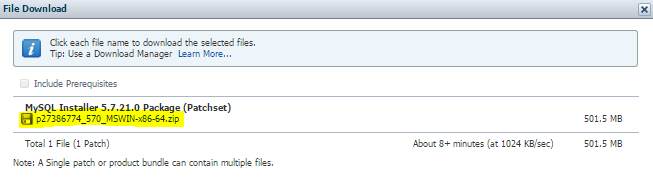
1.2. Choose the latest patch.
1.3. Click Download

2. Verify the current version

3. Backup databases
4. Double click on the patch

5. Click Next >

6. I will choose to upgrade all components. Click Next >

7. Click Execute.

8. Click Next >

9. Click Next >

10. Enter root password then click Check. If the connection succeeded, Click Next >

11. Click Execute

12. Click Finish

13. Verify new MySQL version. Click Next >

14. Click Finish

This is how I upgrade the patch of our MySQL database on windows. Just be sure to backup your databases and/or if your server is a VM, ask your Windows Admin team to perform a VM snapshot of the server before you apply the patch.
Cheers!


Leave a Reply